# VirtualBox
## Creating the Virtual Machine
If you already have VirtualBox installed and the Debian ISO ready, we can proceed with creating the [virtual machine](https://fr.wikipedia.org/wiki/Machine_virtuelle).
{% hint style="danger" %}
**IMPORTANT FOR 42 STUDENTS:** On step 2, store the virtual machine inside the `sgoinfre` folder located on your campus server. This is crucial because you will run out of memory space in your user session, causing the installation to fail.
**BETTER ALTERNATIVE:** Use [external storage](https://amzn.to/4lbiCtI) (SSD/USB drive) as recommended above. This eliminates storage limitations and provides better performance than campus `sgoinfre` storage. And you can use it for all your 42 projects, not just this one.
\
Even continuing your work at home by using VirtualBox on your personal computer, with your external storage device plugged in.
{% endhint %}
### Step-by-step VM creation:
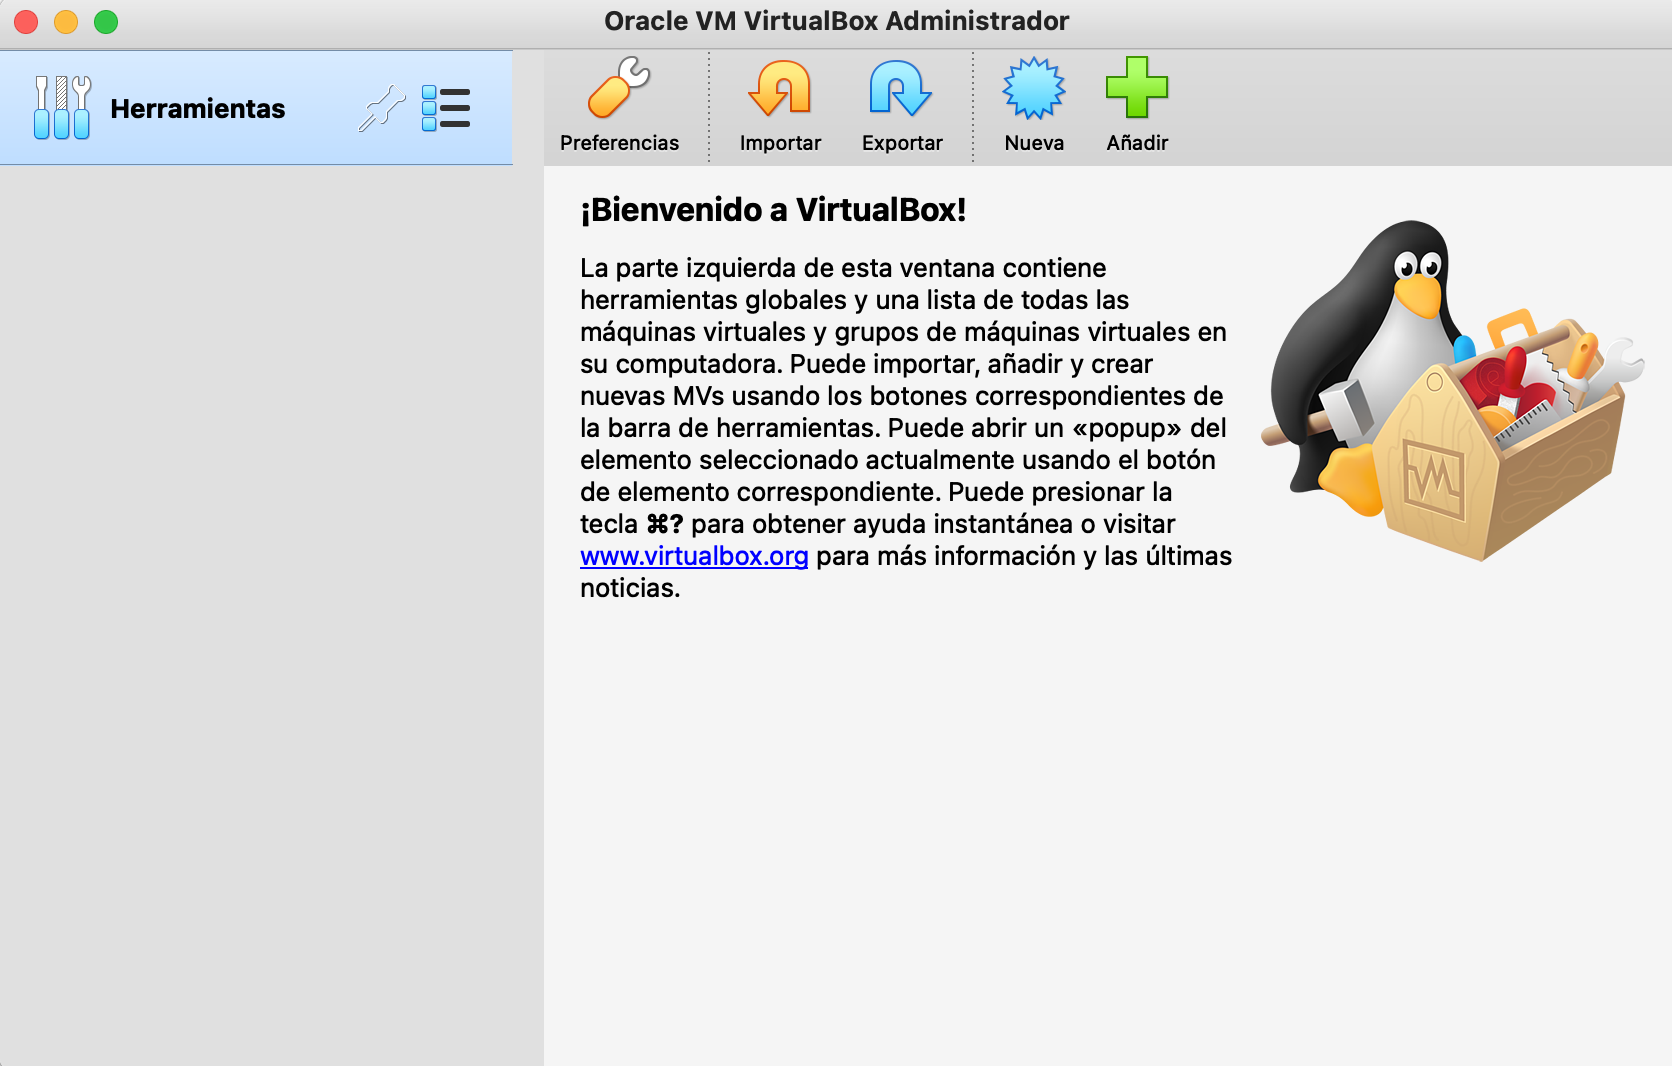
1. **Open VirtualBox:** Launch VirtualBox and click the `New` button to create a new virtual machine.
VirtualBox Dashboard
2. **Configure VM name and location:** Choose a name for your virtual machine and select the folder where it will be stored.
> **CRITICAL FOR 42 STUDENTS:** Store the machine inside the **sgoinfre** folder on your campus server to avoid running out of storage space. Ask students if you can't locate this folder. Or better, use an [**external storage**](https://amzn.to/4lbiCtI) device as recommended above.
VM Name and Location Setup
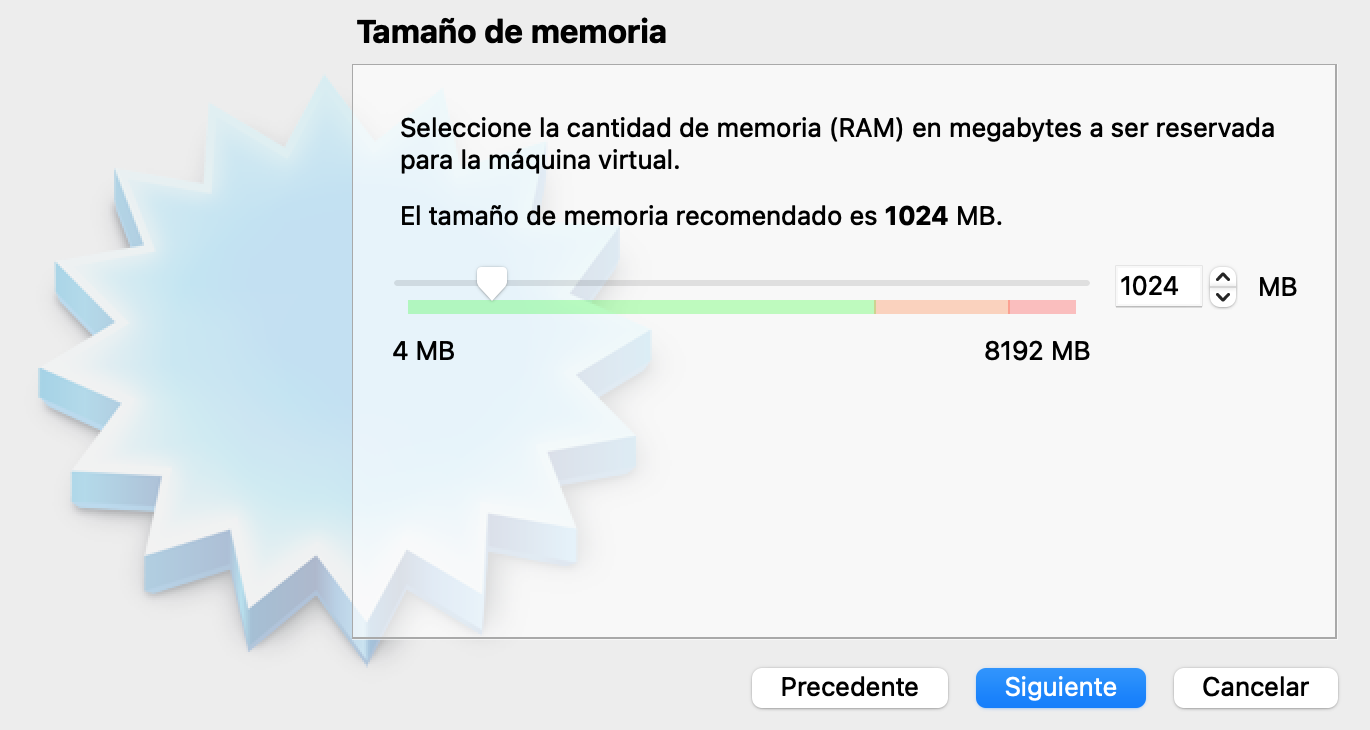
3. **Allocate** [**RAM memory**](https://en.wikipedia.org/wiki/Random-access_memory)**:** Select the amount of RAM memory to reserve for the virtual machine. **Recommended: 1024MB (1GB) minimum, 2048MB (2GB) for better performance.**
RAM Memory Allocation
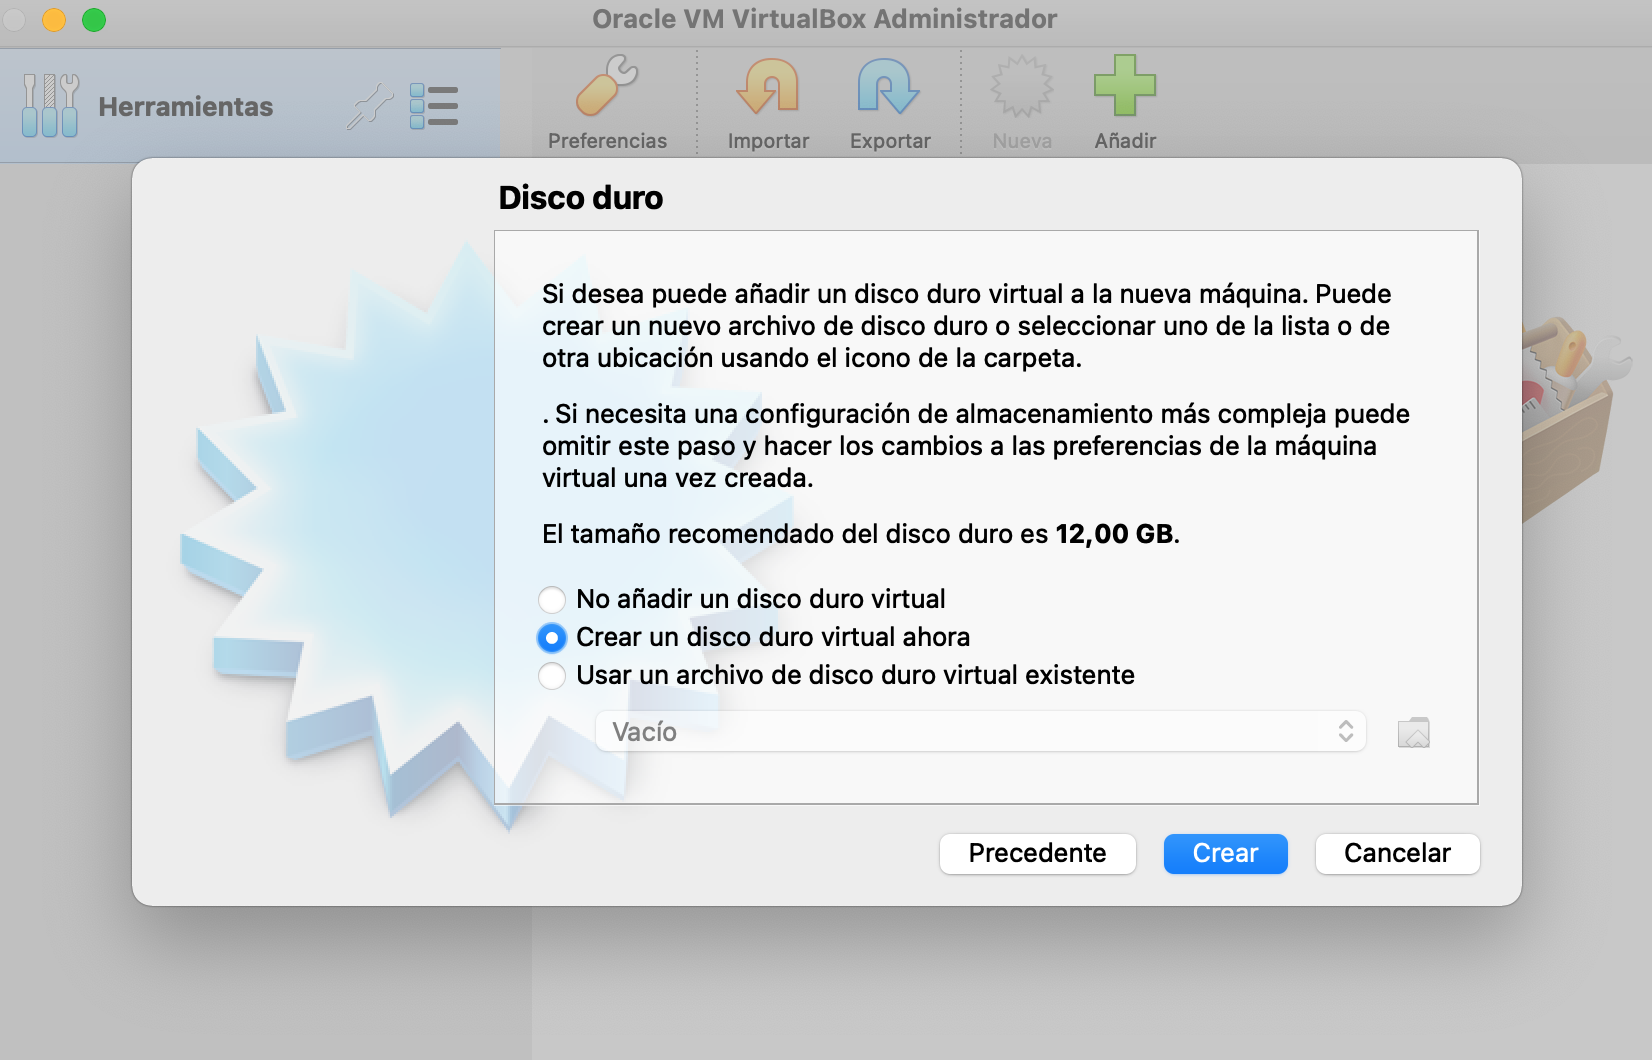
4. **Create virtual hard disk:** Select the second option to create a virtual hard disk now.
Virtual Hard Disk Creation
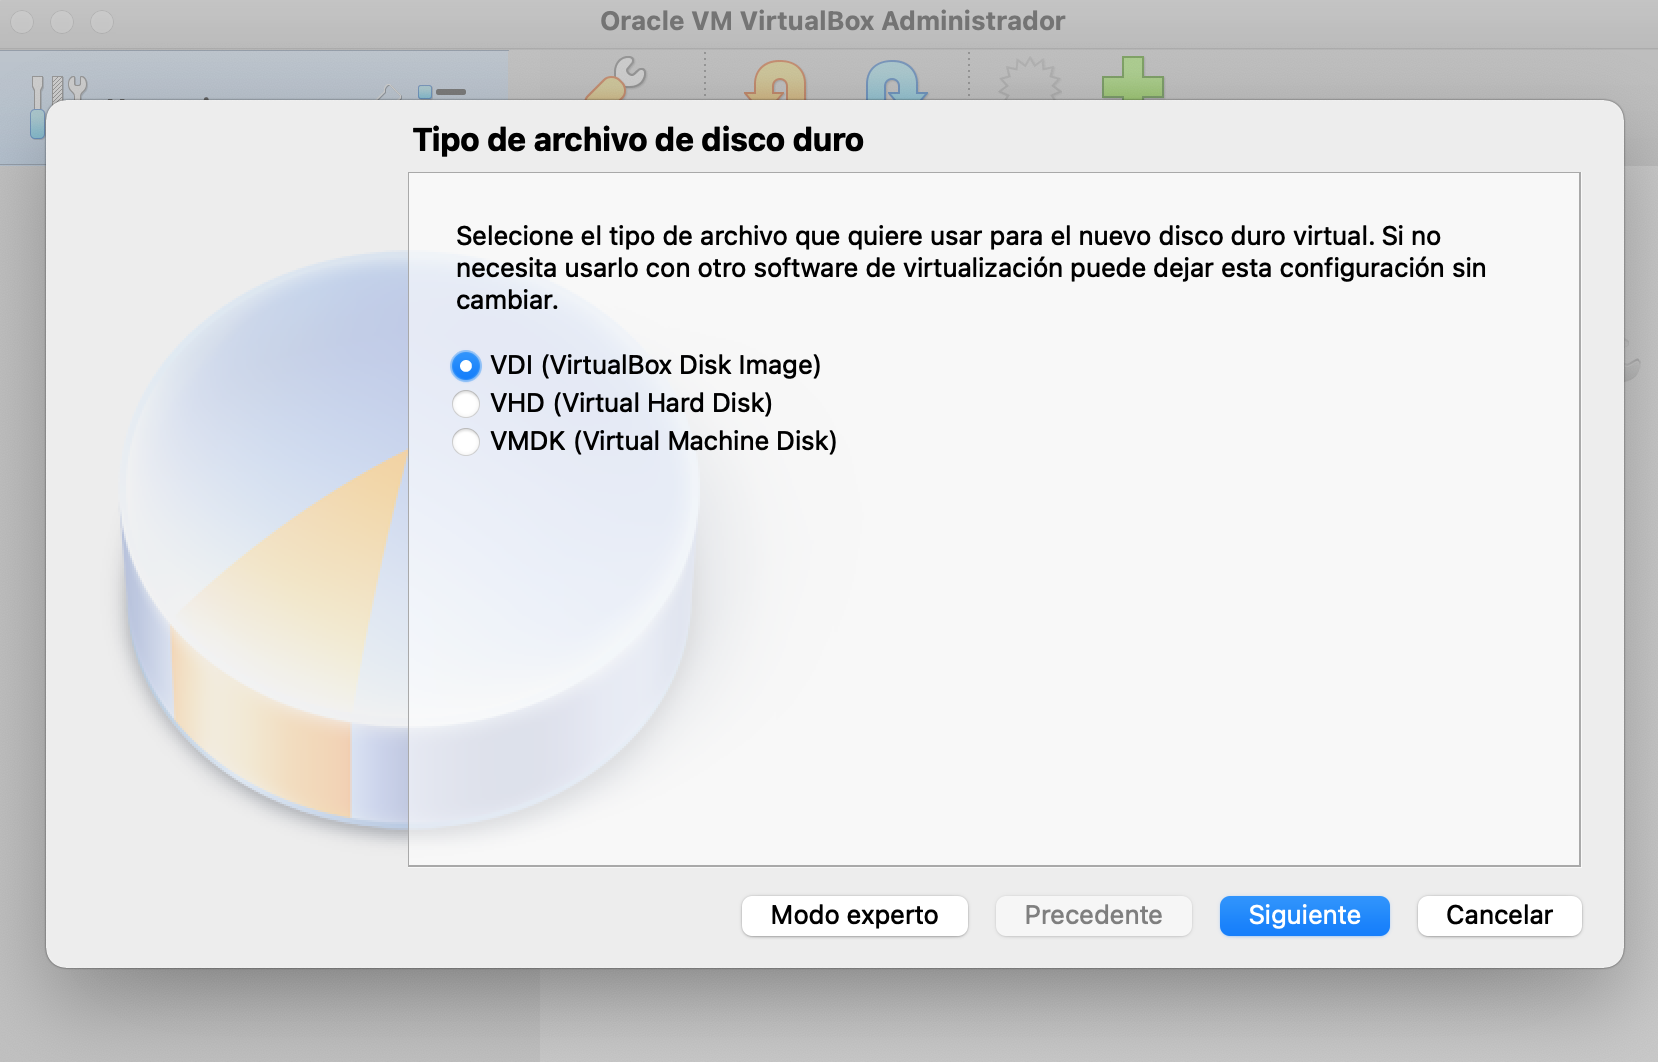
5. **Choose disk type:** Select the first option `VDI (VirtualBox Disk Image)` as our disk format.
VDI selection from VirtualBox
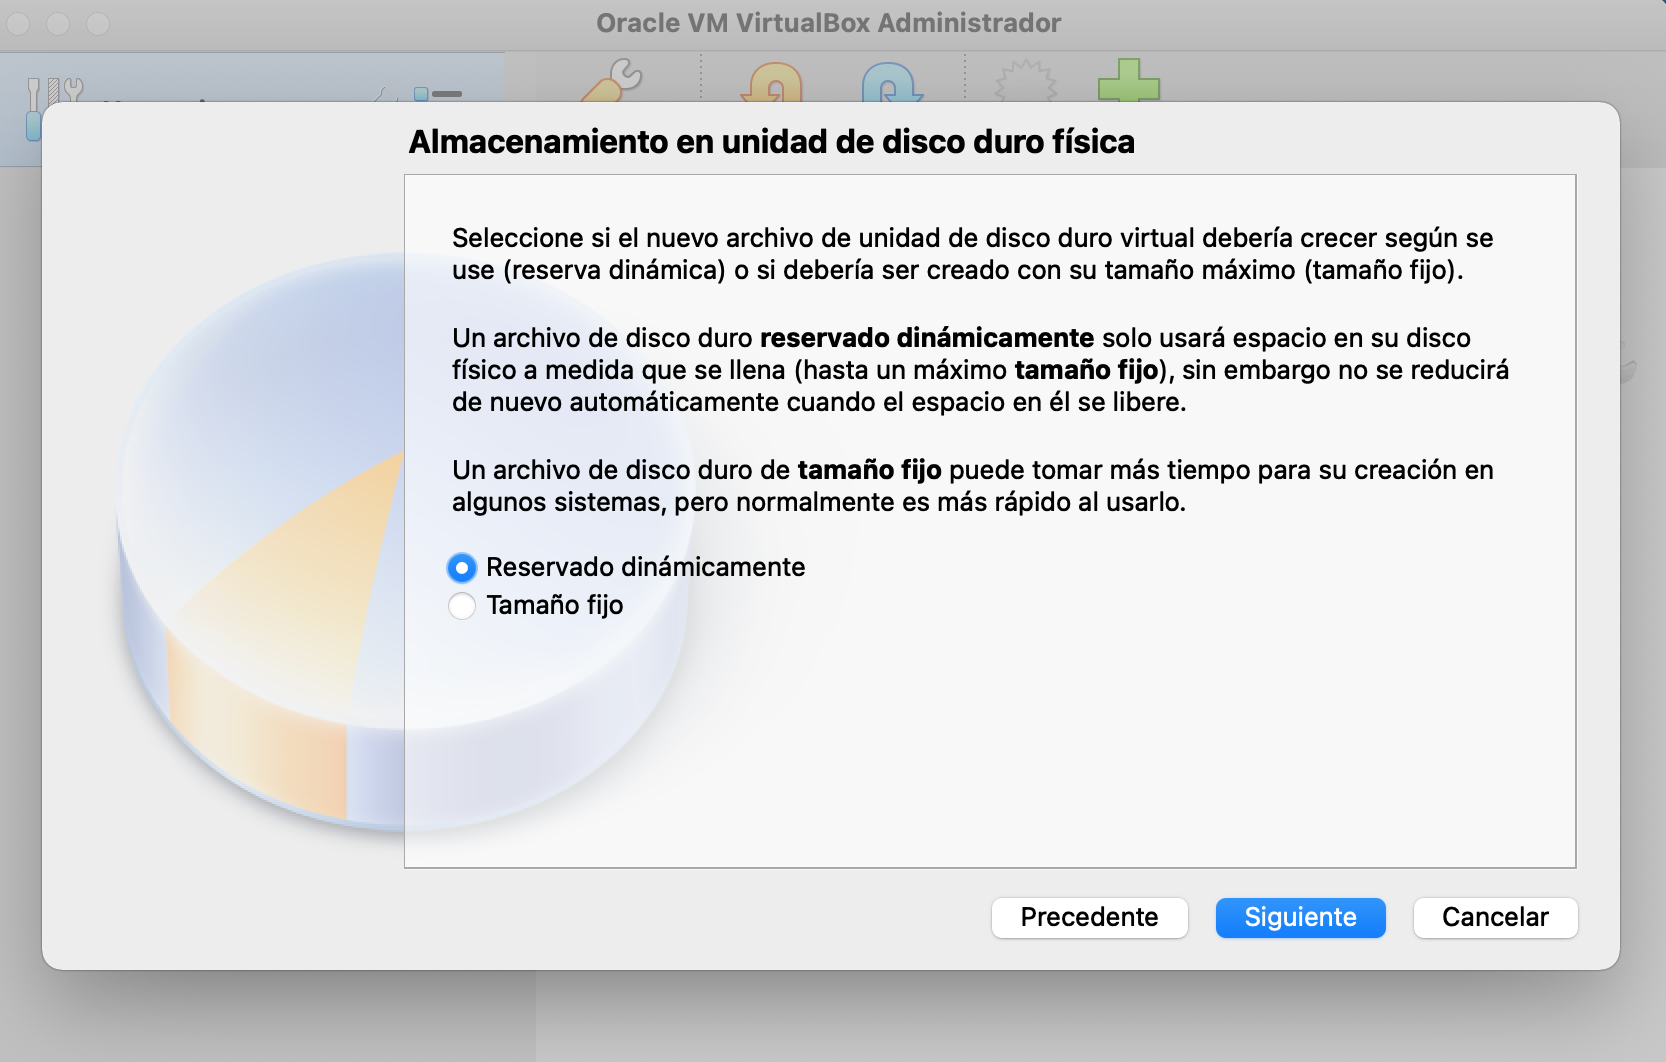
6. Select the first option `Dynamically allocated` so it will allocate the memory of the physical machine as it feels necessary while using the virtual machine until we reach the available limit.
Dynamically allocation on VirtualBox
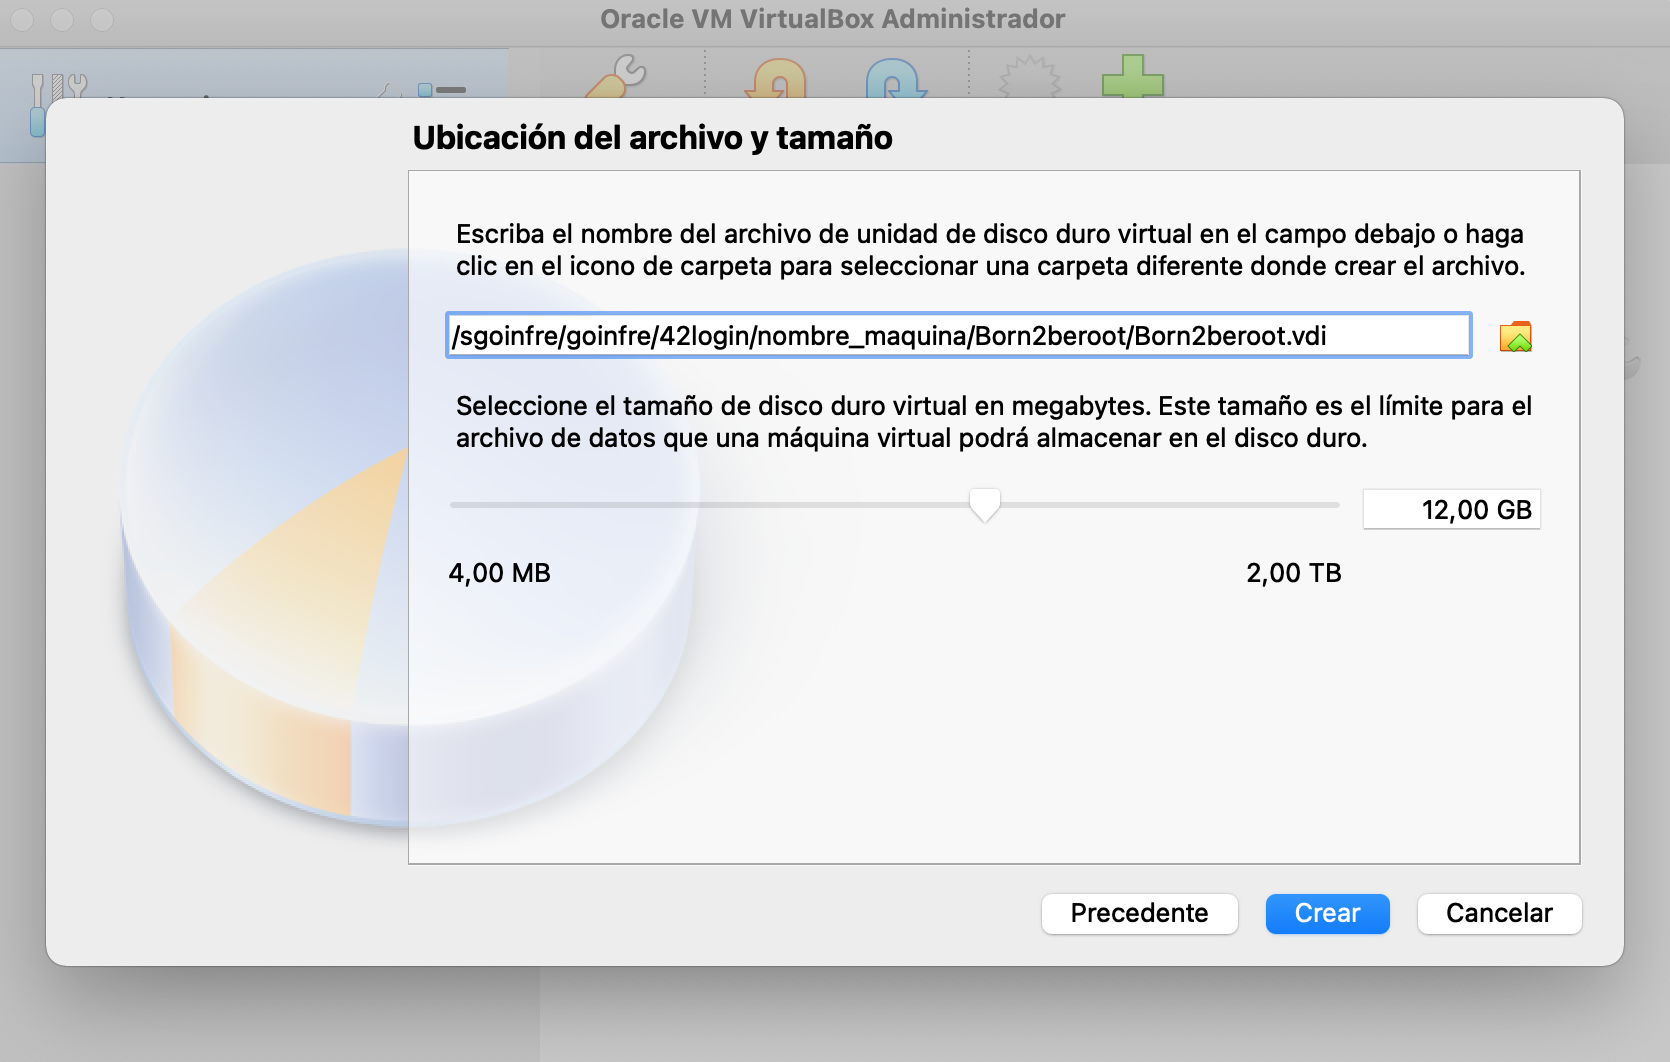
7. One we established the recommended `12 GB` we must click on `Create`. If we are doing the bonus we might set `30 GB`.
Storage size selection of the virtual machine
---
# Agent Instructions: Querying This Documentation
If you need additional information that is not directly available in this page, you can query the documentation dynamically by asking a question.
Perform an HTTP GET request on the current page URL with the `ask` query parameter:
```
GET https://noreply.gitbook.io/born2beroot/installing-the-virtual-machine/virtualbox.md?ask=
```
The question should be specific, self-contained, and written in natural language.
The response will contain a direct answer to the question and relevant excerpts and sources from the documentation.
Use this mechanism when the answer is not explicitly present in the current page, you need clarification or additional context, or you want to retrieve related documentation sections.